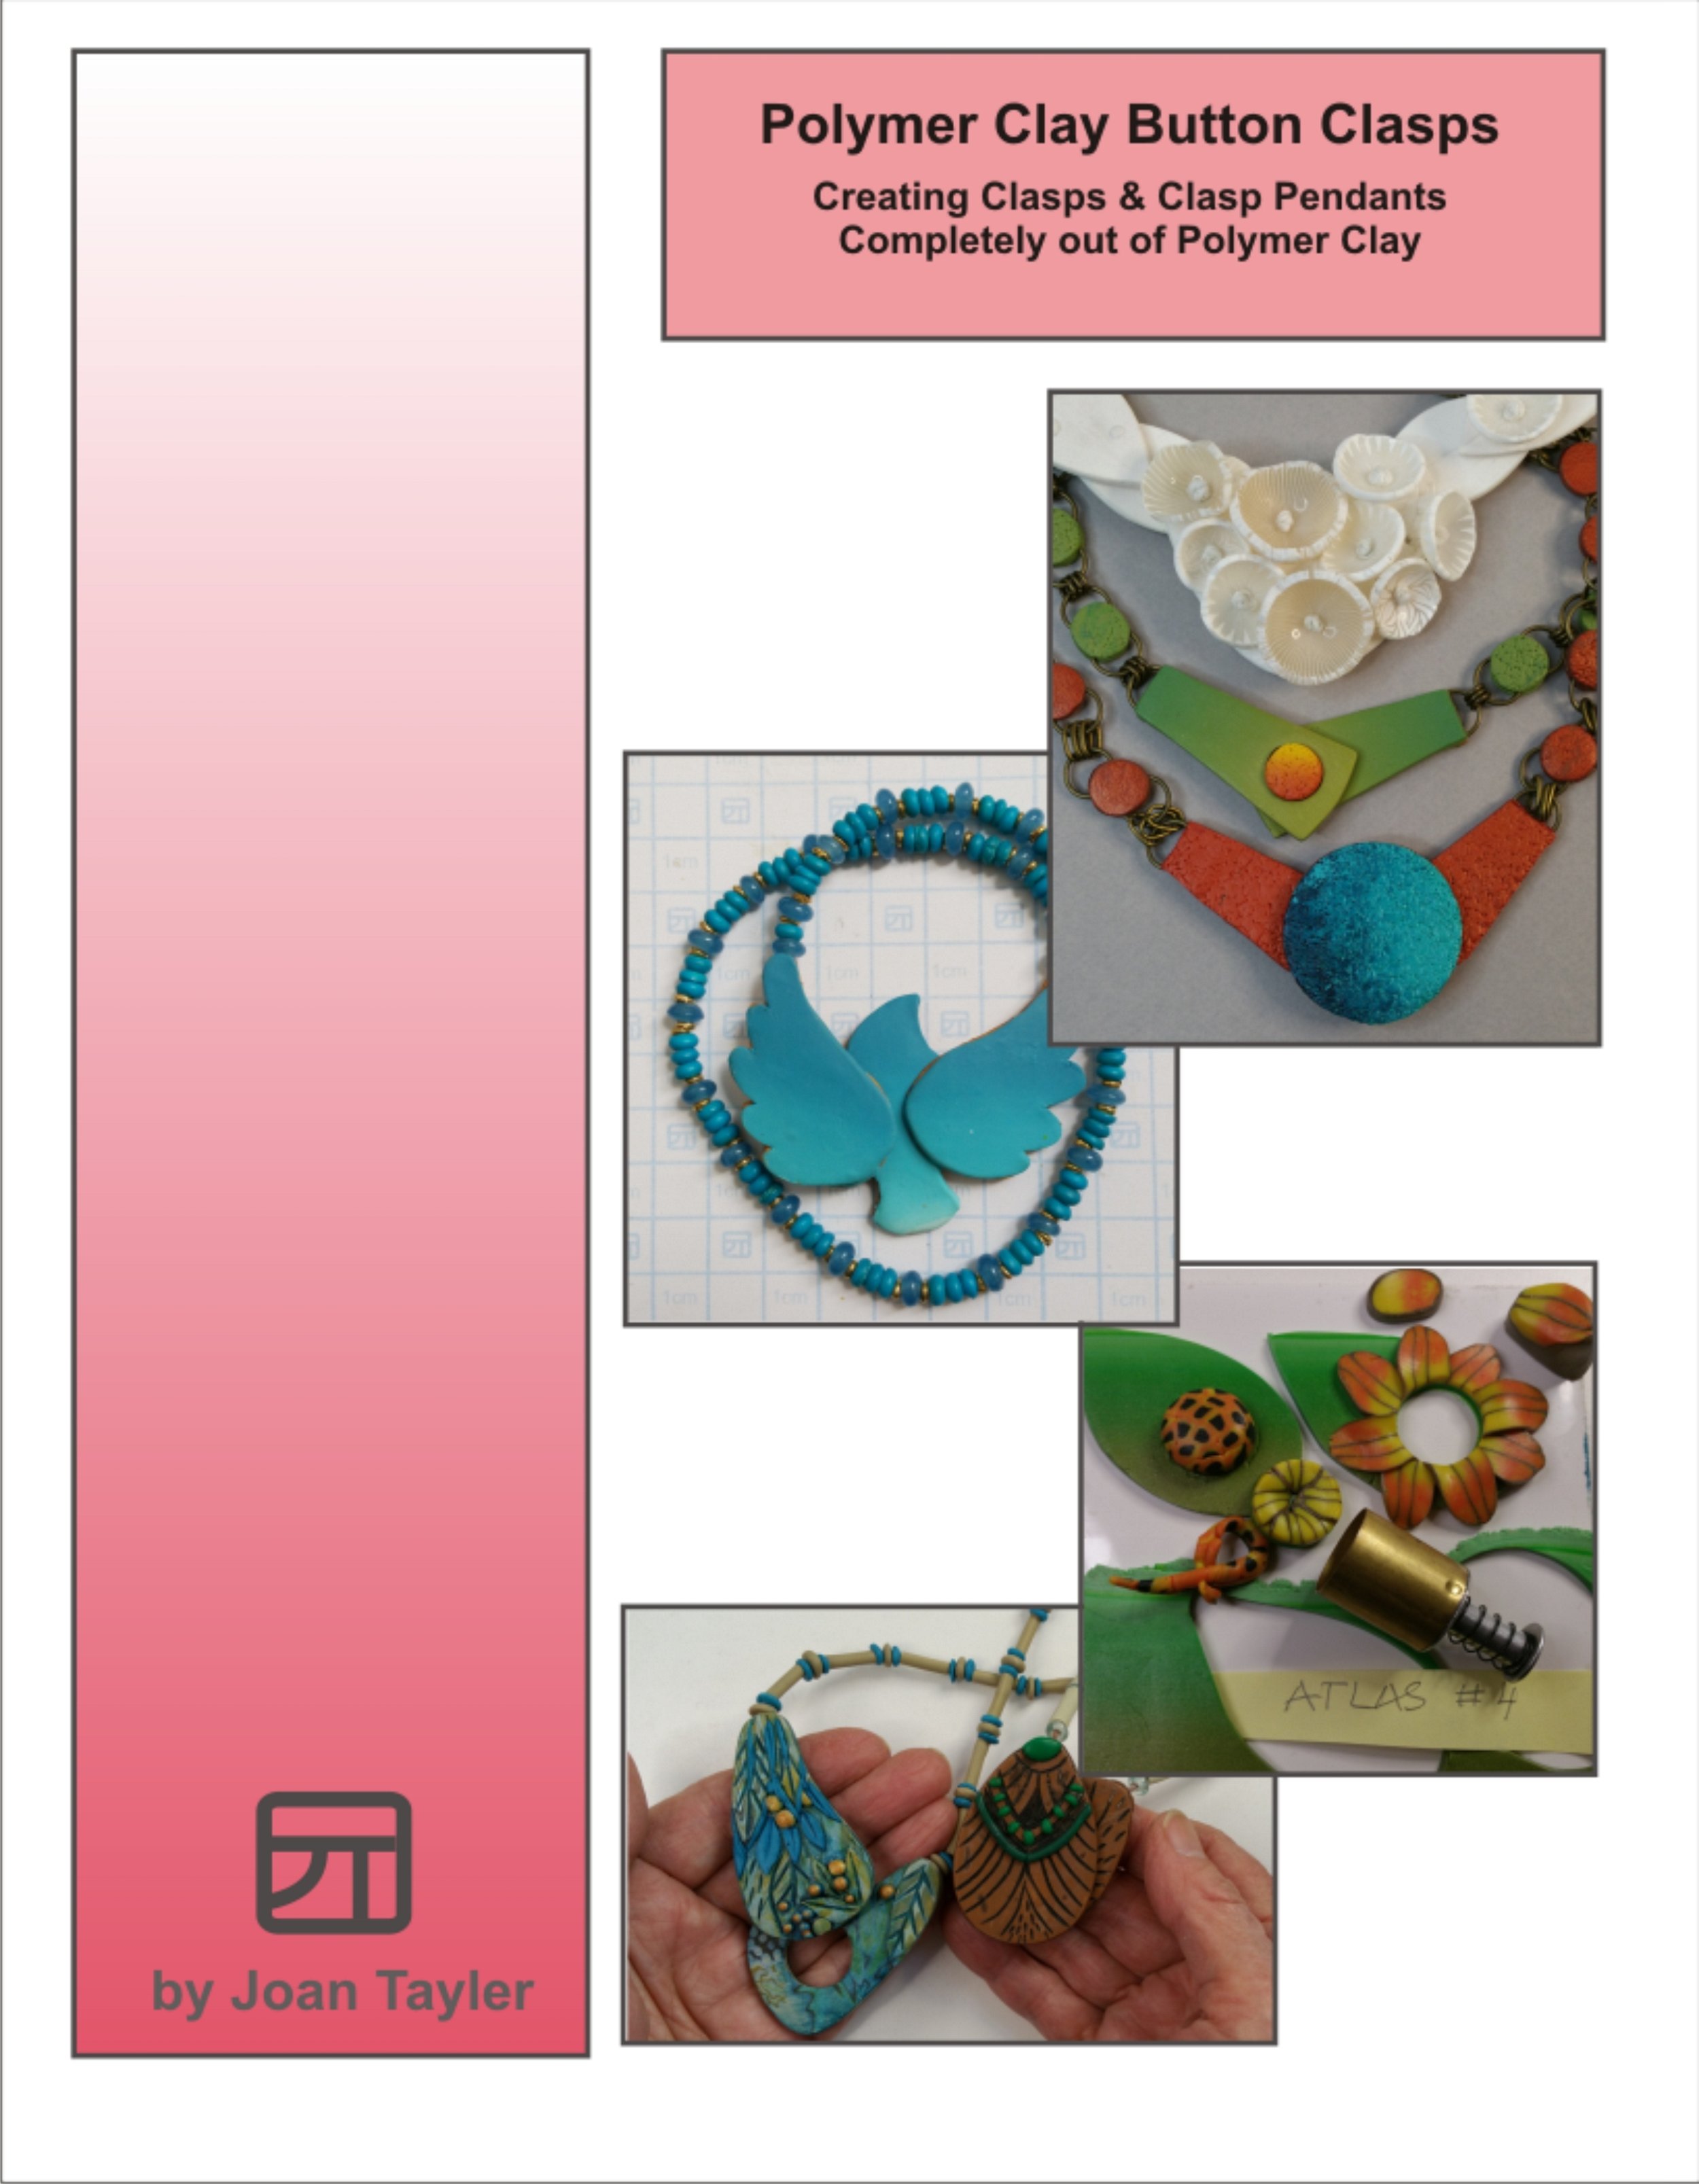
How to Make Button Clasps from Polymer Clay
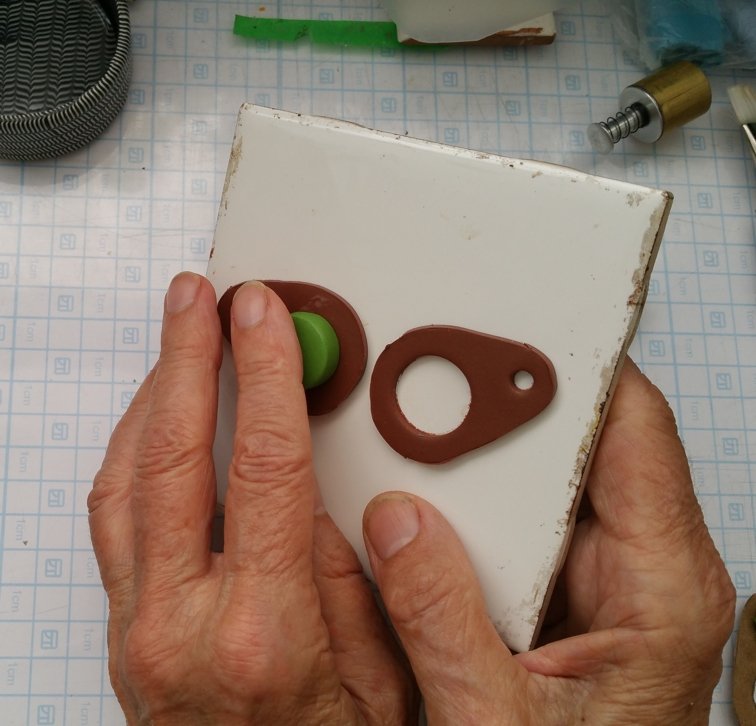
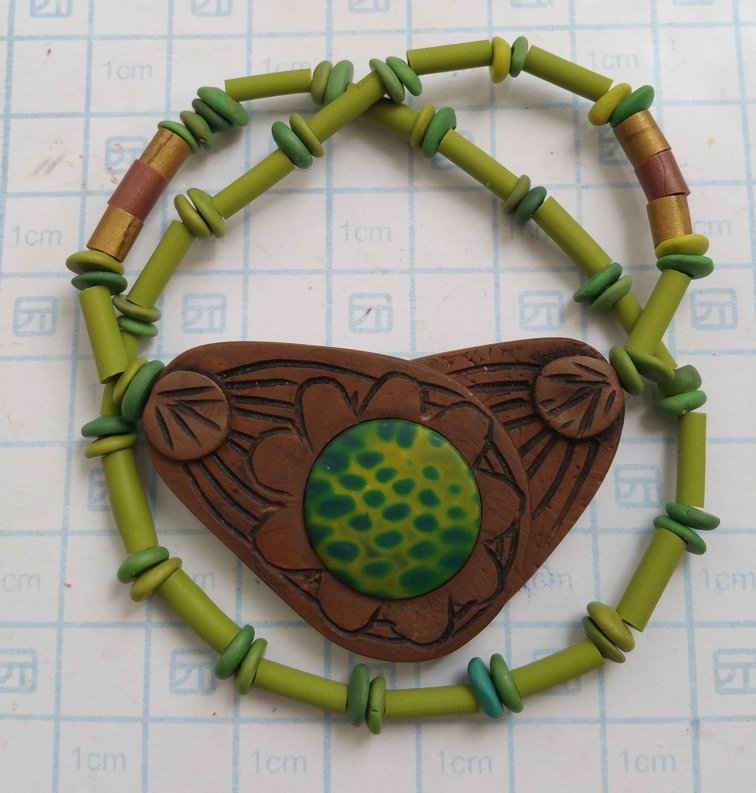
A button clasp is a friction fit system to fasten two overlapping polymer clay panels. One panel has a “button hole” and the other has a “button”. You line up the button with the buttonhole and push the panels together to close. To open the clasp, you push the button back through the buttonhole.
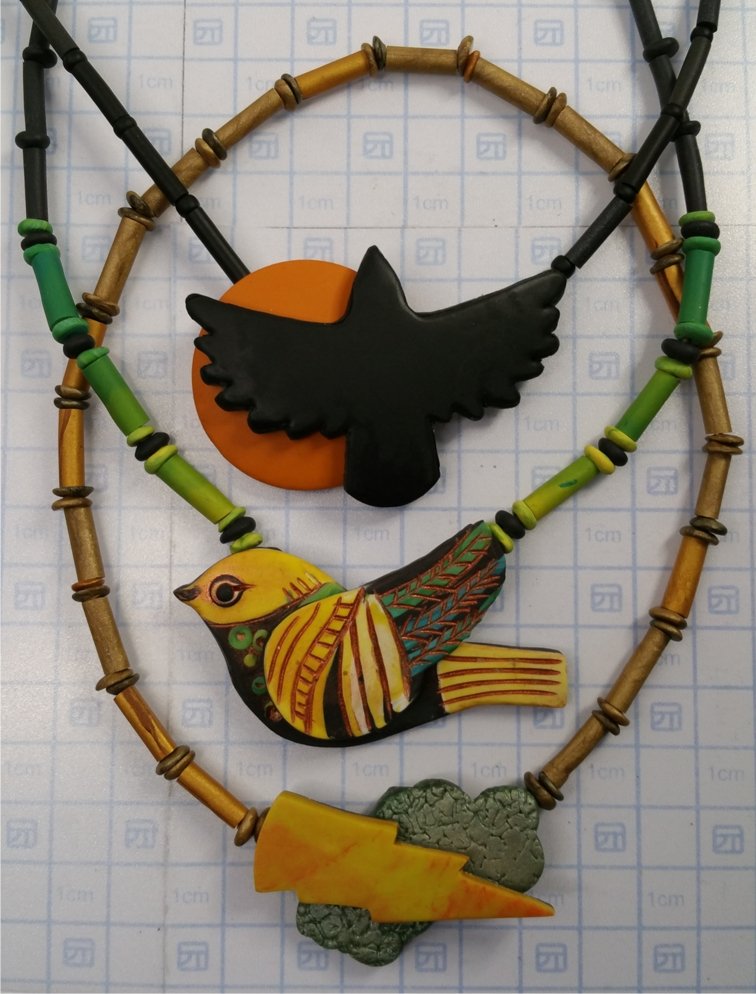
The button clasps can be pendants that fasten together in the front or can be hidden in the design of a panel necklace.
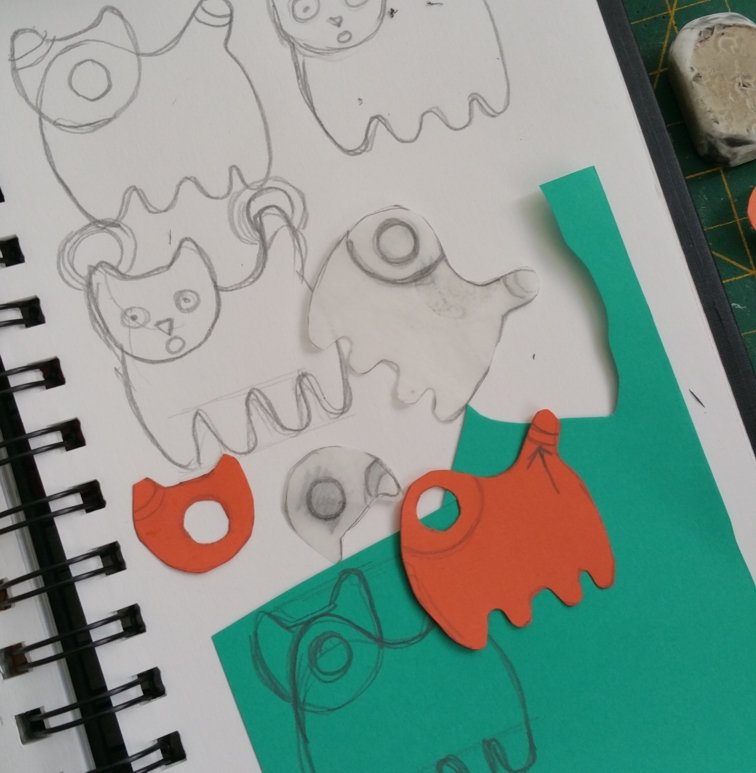
I have provided some patterns but I also give you enough information that you should be able to make new patterns of your own. I can’t wait to see what you will come up with. Have fun!
Tools
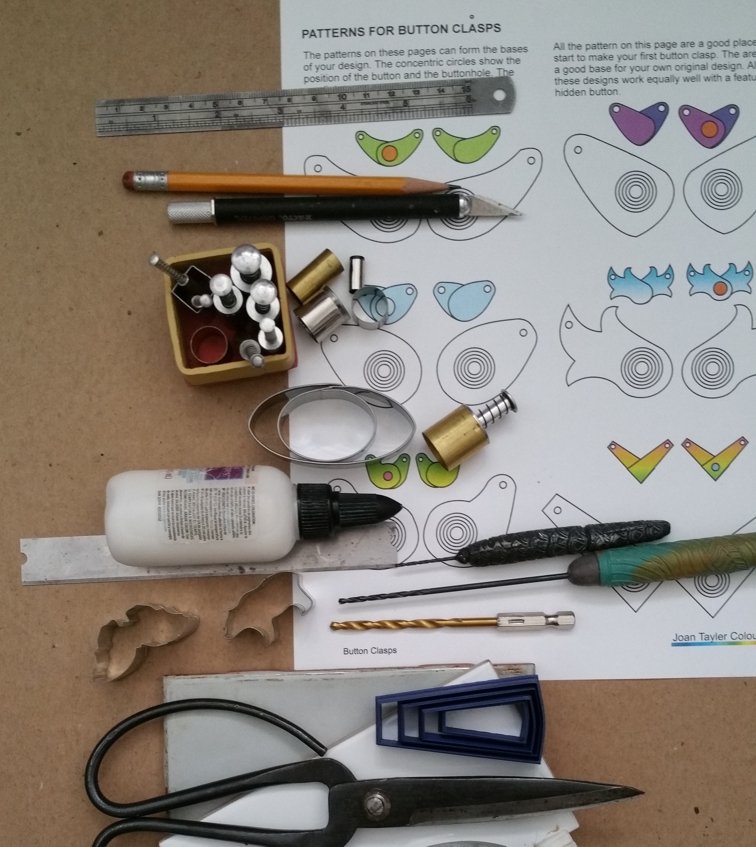
No special equipment is needed. Just the usual suspects:
- A pasta machine
- A sharp pointed craft knife like a #11 X-acto knife
(Important for trimming and cutting raw clay and shaving
cured clay.)
- A ruler that doesn’t react with polymer clay
- A straight clay knife (sometimes called a tissue blade)
- A ball stylus or a tool with a blunt end like a crochet hook
- Small round cutters to cut buttons and buttonholes
- A selection of drills
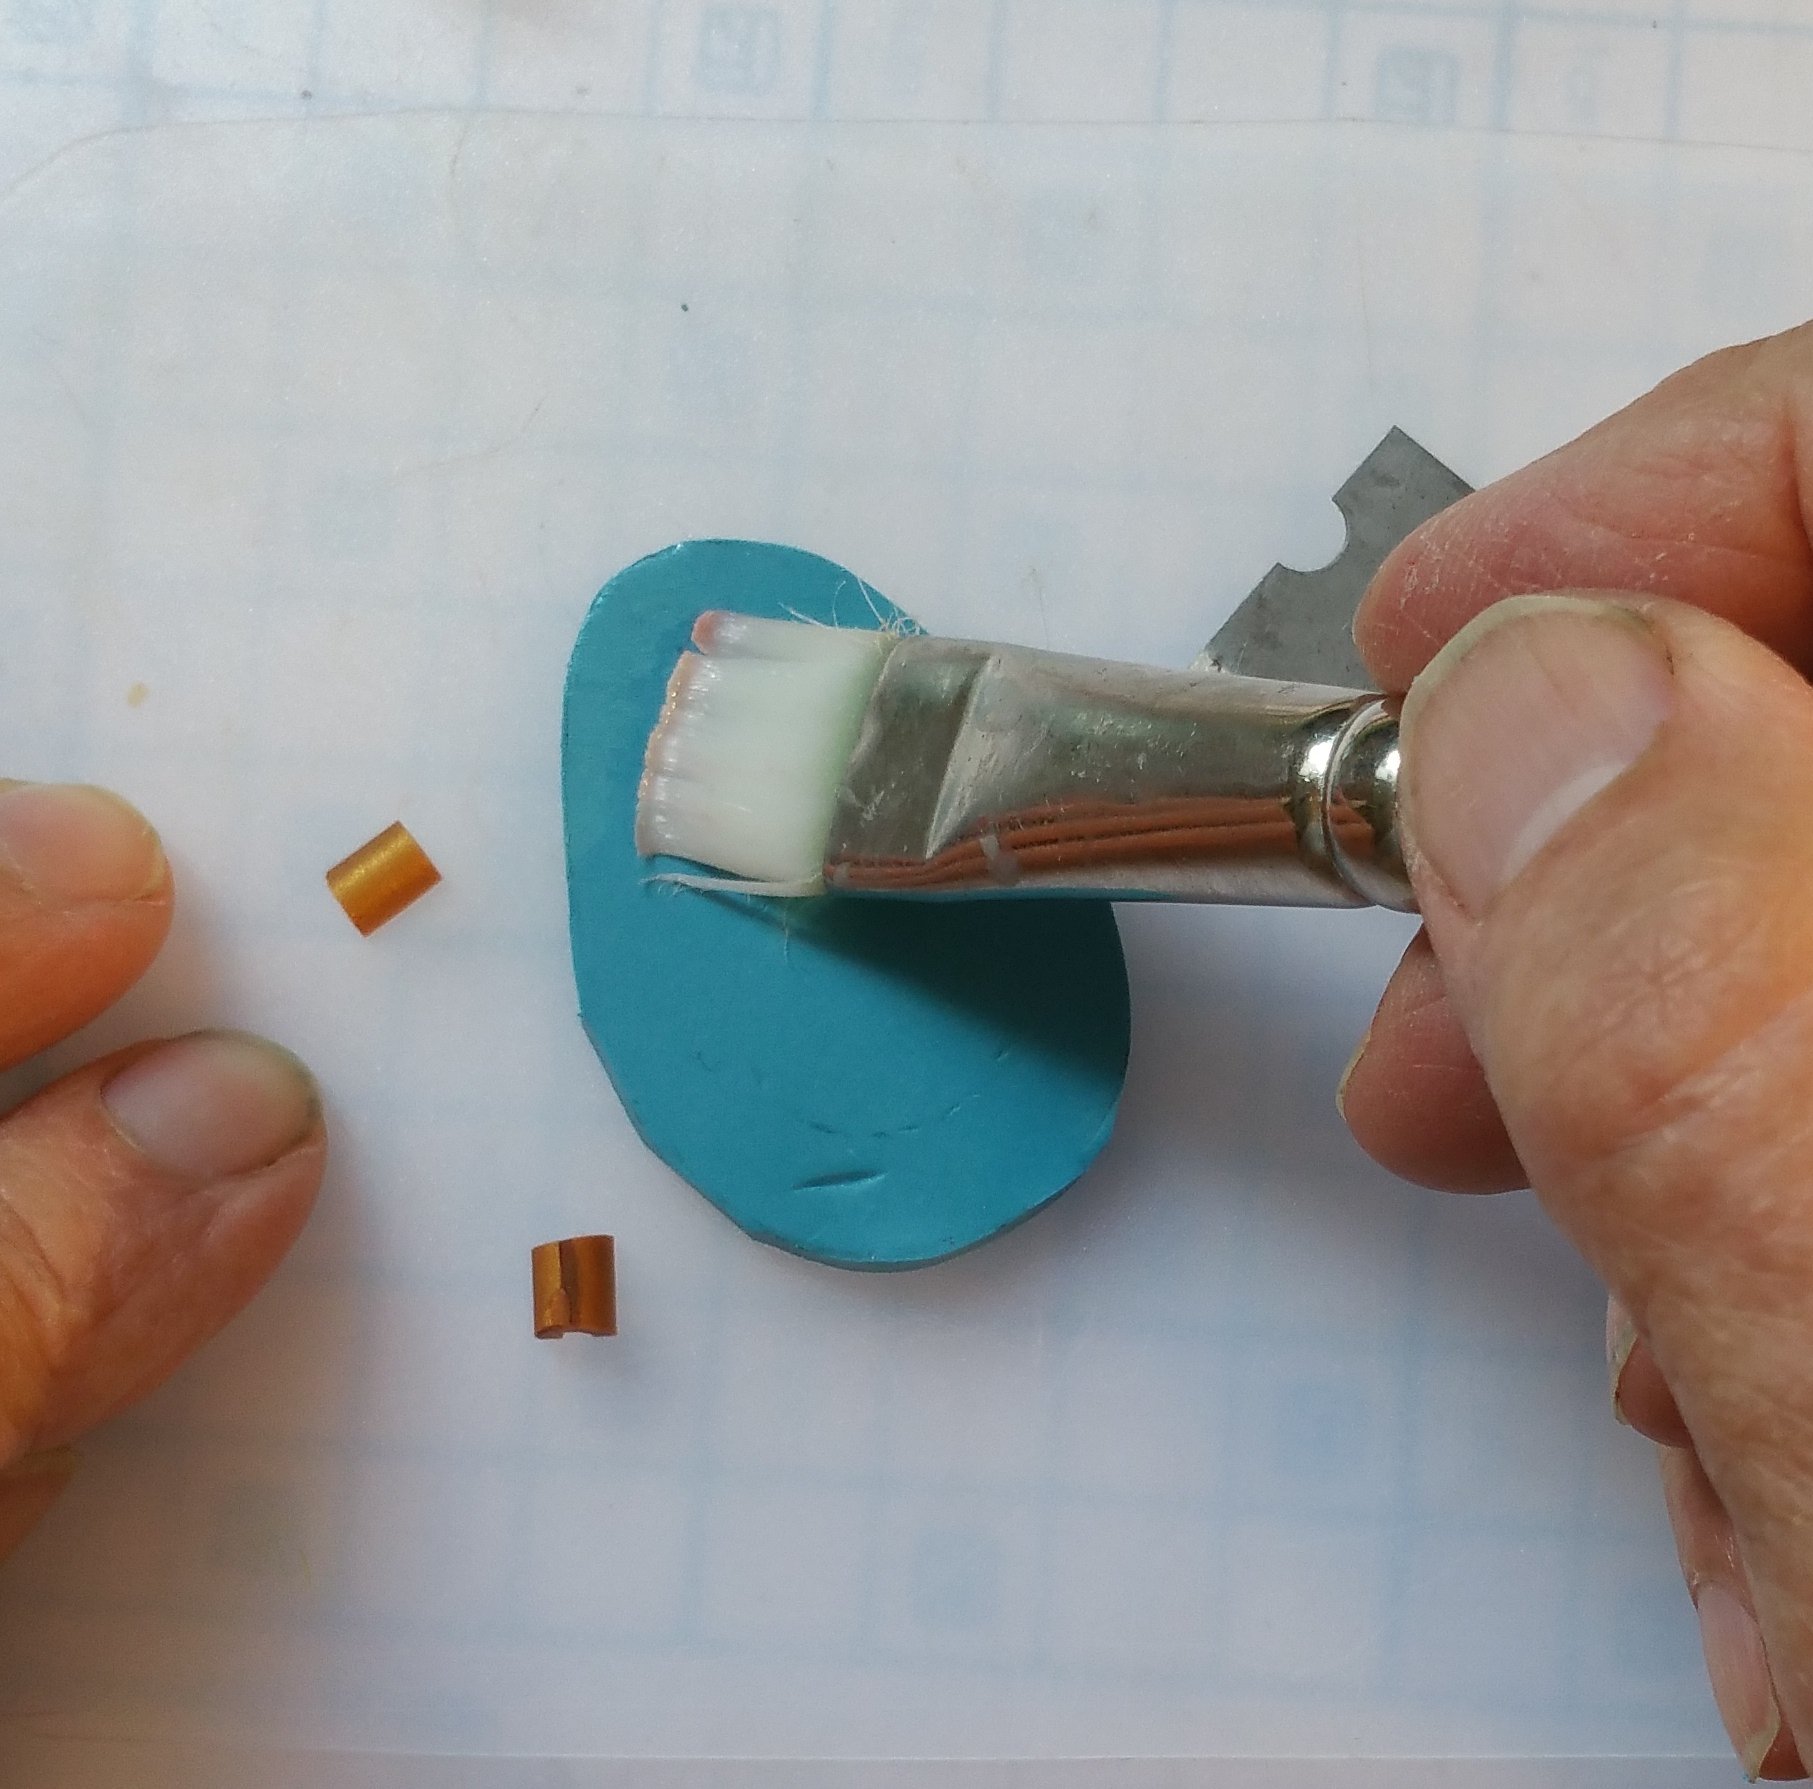
- A brush for LPC (Liquid Polymer Clay)
- An oven proof tile
- Optional - a variety of cutters to make panel shapes
Materials
- Polymer clay such as Premo, Fimo, or Kato Polyclay. Almost any clay will do as long as it is not brittle like Sculpey III.
- Liquid polymer clay to aid in bonding cured clay together. I use Premo or Kato Liquid Polymer Clay. I will refer to this as LPC throughout the tutorial.
- Armorall or another release agent.
- Parchment paper - So that clay can be moved and worked without it sticking to the work surface.
- Optional - Cord, jump rings, and chain.
Contact me if you have questions.
