Star Tutorial for Polymer Clay
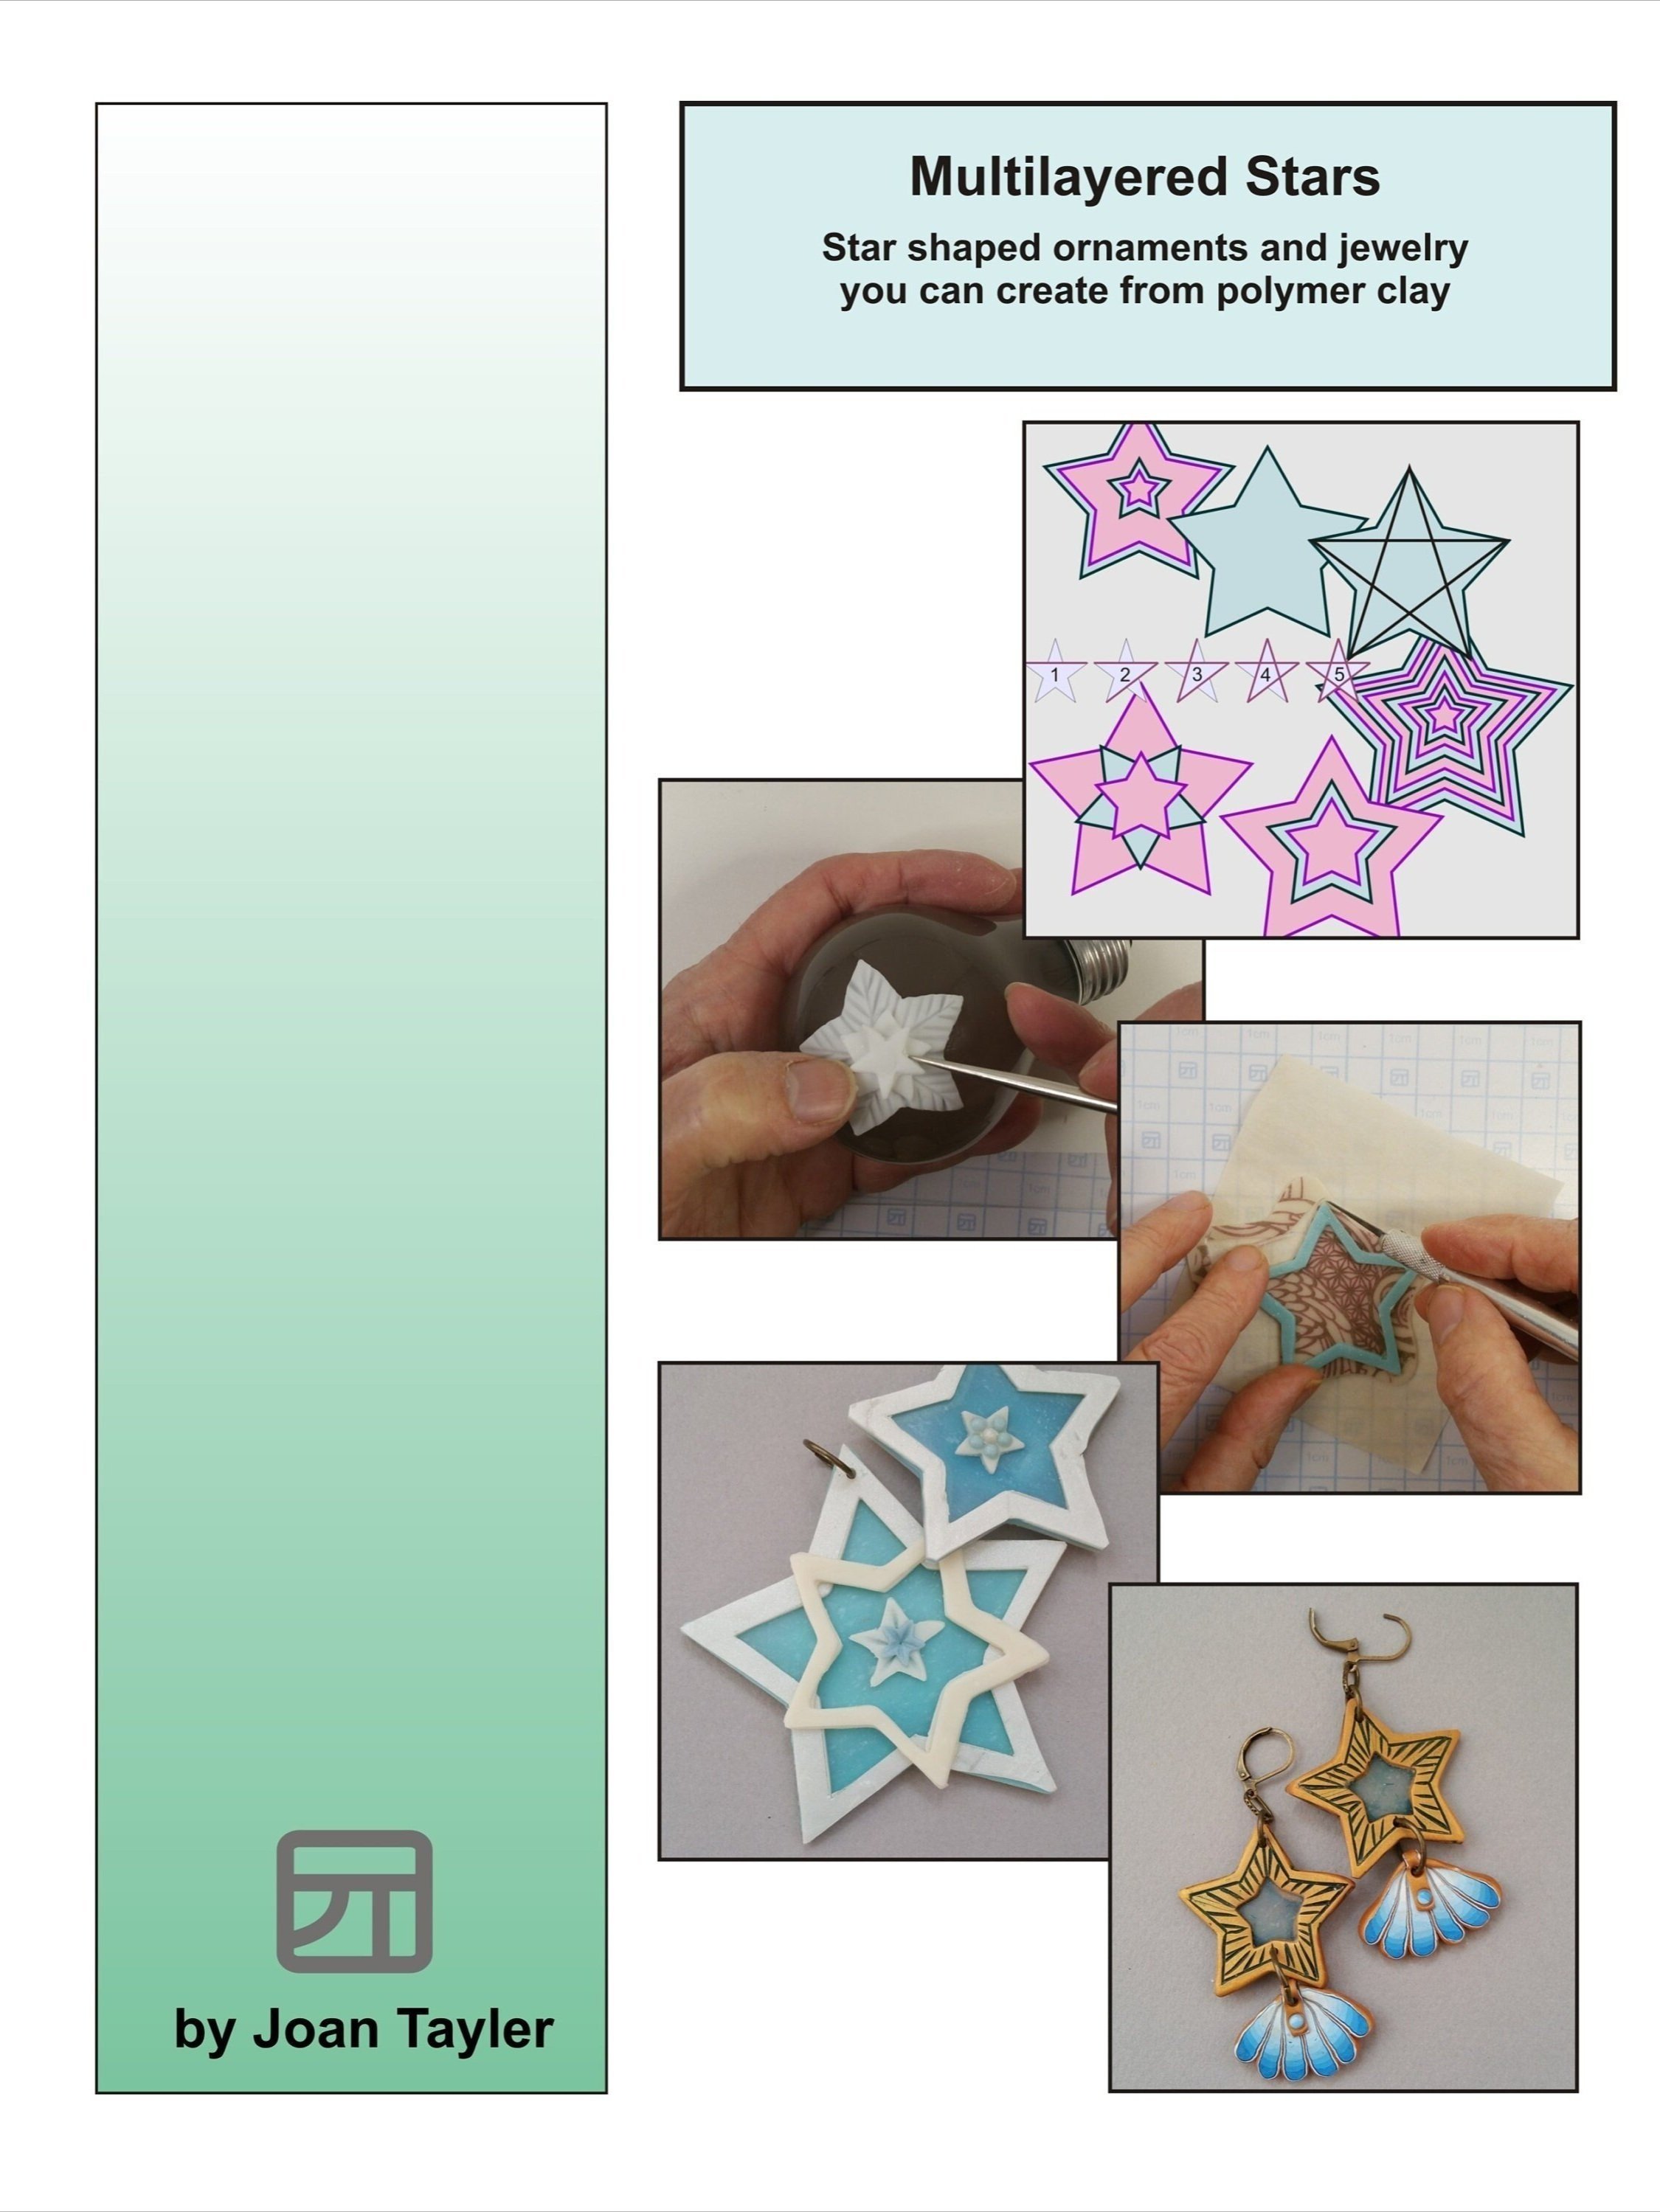
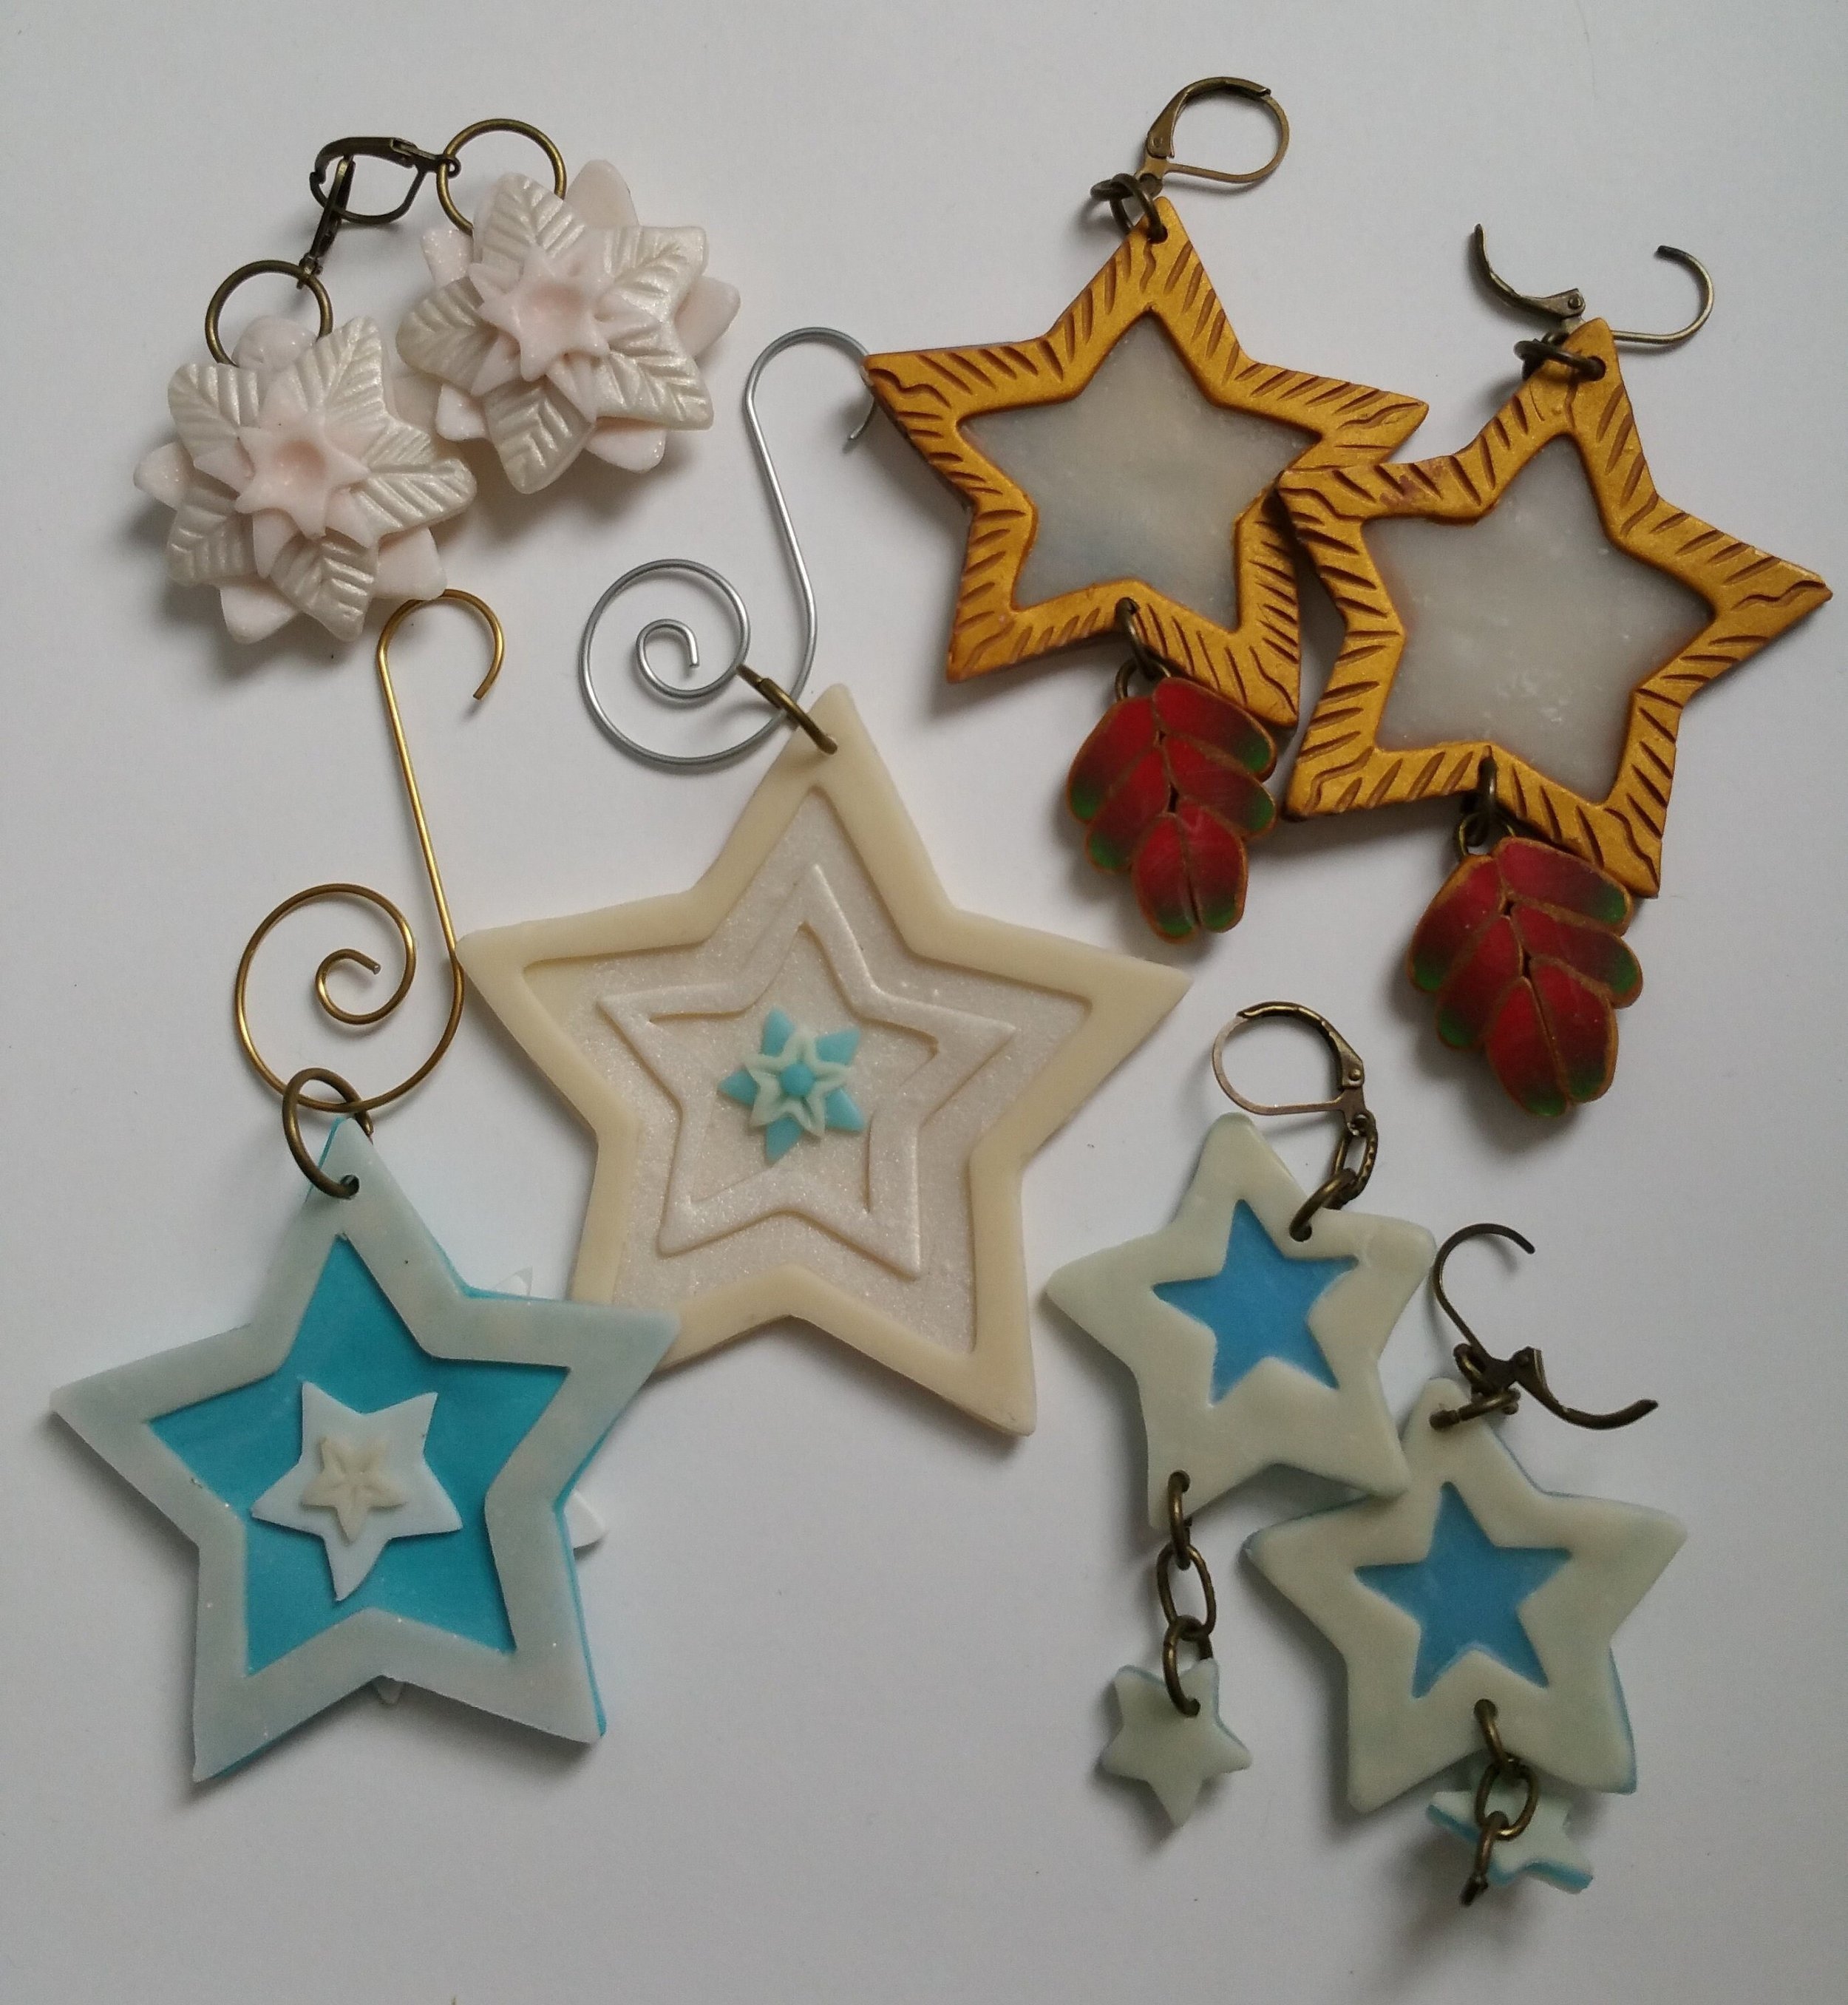
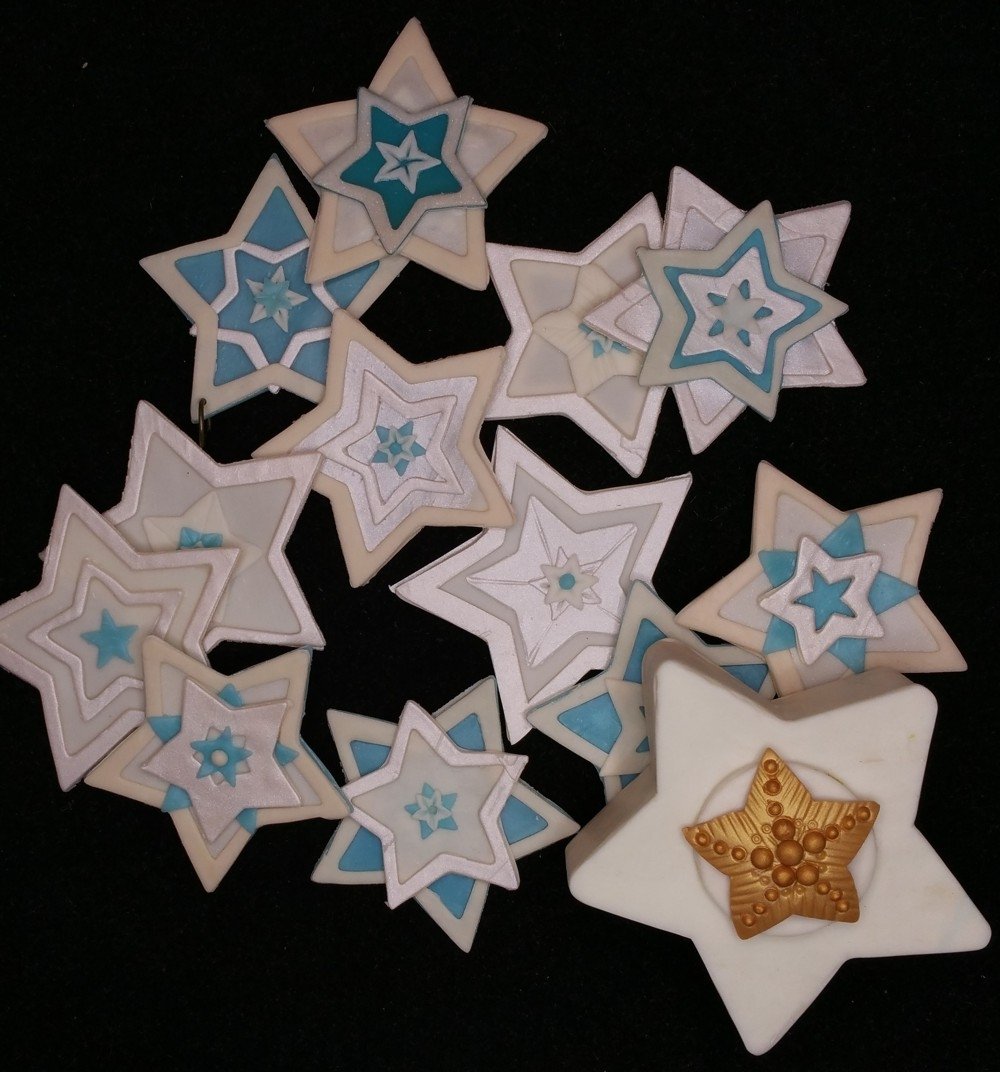
This is a simple tutorial that guides you to make two different styles of stars with variations using everyday clay tools. I have provided a list below There are two files to download. One is the tutorial and the other is the star template. The tutorial is 20 pages long and has over 90 photos or illustrations. The tutorial is designed to be used on a tablet or to be printed out. The star templates are meant to be printed out on light card stock so you can use them as guides to make the star decorations.
Tools
No special equipment is needed. Just the usual suspects:
- A pasta machine
- A sharp pointed craft knife like a #11 X-Acto knife.
(Important for trimming and cutting raw clay and
deburring cured clay.)
- A ruler that doesn’t react with polymer clay.
- A straight clay knife (sometimes called a tissue blade.)
- A fine needle to release trapped air.
- Printouts of the templates that come with this tutorial.
- Star cutters work better than the templates for smaller
stars. I really like my Kemper Klay Kutters 5 Piece Star
Set with stars ranging from about 8 mm to 15 mm.
- A set of Sculpey Etch and Pearl Tools are nice, but not
essential.
Forms
- Oven proof hemispherical forms like bowls or light bulbs between 5 to 8 cm (2 to 3 inches) are ideal to bake the puffy stars on. The smaller the diameter of the form, the puffier your stars will be.
- Ceramic tiles about 10 cm square to cut and cure the outline stars on.
Materials
- Polymer clay such as Premo, Fimo, or Kato Polyclay. It is nice to have a variety of white, near white, translucent, pearl, glitter, or glow-in-the-dark. More colours, more fun. Since we are using different clays in the same piece, they need to cure at the same temperature.
- Liquid polymer clay to aid in bonding cured clay together. I use Premo LPC, Liquid Polymer Clay, I will refer to this as LPC throughout the tutorial.
- Parchment paper - So that clay can be moved and worked without it sticking to the work surface.
- Cornstarch (handy but not essential) I use it to help the etch’n’pearl release clay dots.
- Jump rings, findings, and wire to make hangers for ornaments and earrings.


